

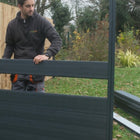
DuraPost® Gravel Board Installation

Gathering Essential Tools and Materials
Before you begin installing your Durapost PRIMA Gravel Board, it's important to gather all the essential tools and materials. This will ensure a smooth and uninterrupted installation process. Key tools include, a tape measure, a cordless drill, a spirit level, a hand saw, a square ruler and a chop saw. Additionally, you will need your Durapost PRIMA® Gravel Board, fence posts, and any necessary fixings.
Having all these items ready and within reach can save time and help avoid unnecessary trips to the hardware store mid-project. Make sure to check the condition of your tools to ensure they are in good working order.

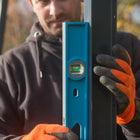
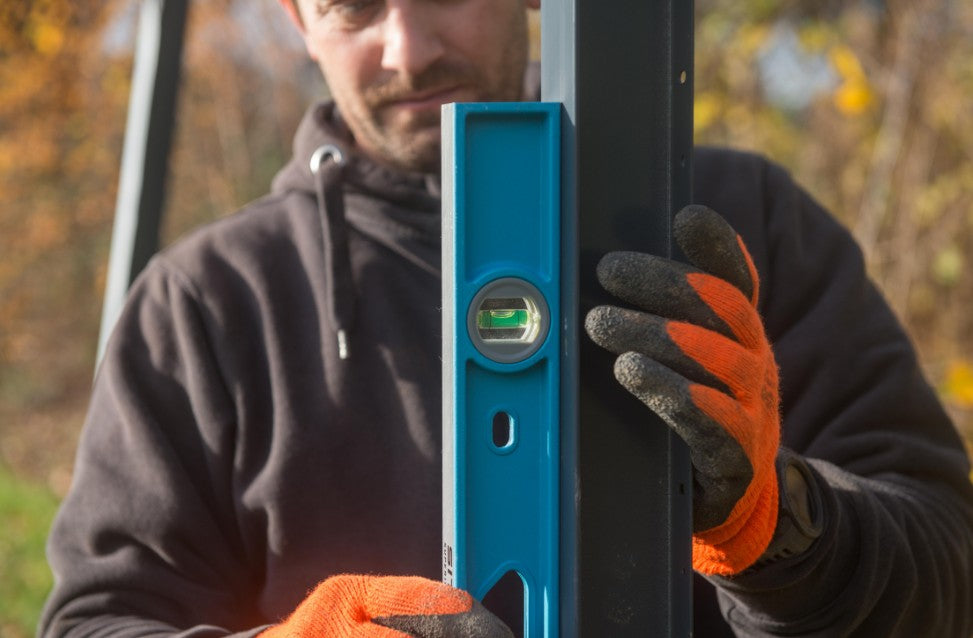
Preparing Your Installation Site
Proper preparation of your installation site is critical for the successful installation of your Durapost PRIMA® Gravel Board. Start by clearing the area where the gravel board will be installed. Remove any debris, rocks, or vegetation that might obstruct the installation process.
Next, measure and mark the positions where the fence posts will be placed. Ensure the ground is level, as this will impact the stability and alignment of your gravel board. If necessary, use a spade to level the ground and create a firm base for the posts.
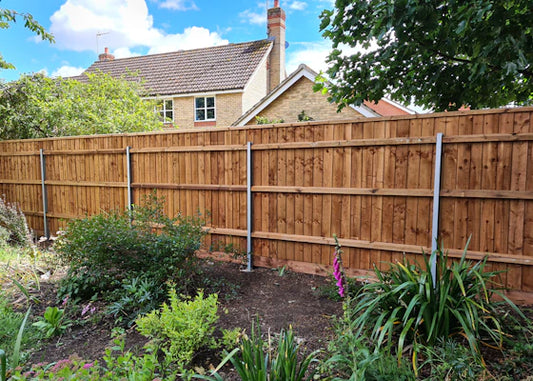
Step-by-Step Installation Process
How To Install DuraPost® PRIMA - YouTube
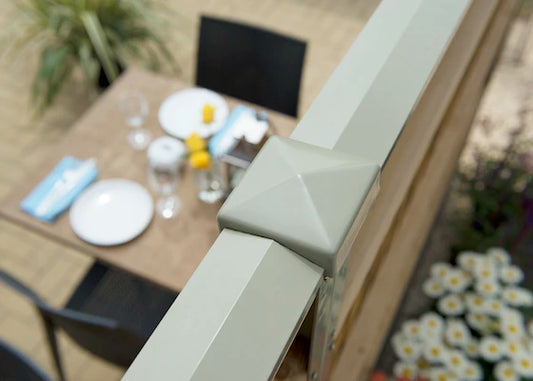
Ensuring Stability and Durability
Once your gravel board is in place, it's important to ensure its stability and durability. Check that all posts are firmly set in the ground and that the gravel board is securely attached.

Final Touches and Maintenance Tips
After the installation is complete, take a step back and inspect your work. Make any final adjustments to ensure everything is level and secure. Clean up the installation site by removing any leftover materials and tools.
For ongoing maintenance, Keeping the area around the gravel board clear of debris and vegetation will also help maintain its appearance and functionality.
Create Extraordinary Spaces with DuraPost® fencing systems
DuraPost® steel fence posts and composite fence panels. Find out why they are the ultimate fencing system.
Blog posts
View All-

DuraPost® Gravel Board Installation
Gathering Essential Tools and Materials Before you begin installing your Durapost PRIMA Gravel Board, it's important to gather all...
DuraPost® Gravel Board Installation
Gathering Essential Tools and Materials Before you begin installing your Durapost PRIMA Gravel Board, it's important to gather all...
-
DuraPost® Capping Rail to Timber Panel Fencing
One question we get regularly is, 'How do I fit the DuraPost® Capping Rail to a Timber fence panel?'.The...
DuraPost® Capping Rail to Timber Panel Fencing
One question we get regularly is, 'How do I fit the DuraPost® Capping Rail to a Timber fence panel?'.The...
-
How do I install close board fencing with DuraP...
We often get asked the question 'Is DuraPost just a panel product?'The answer is no! DuraPost is incredibly versatile...
How do I install close board fencing with DuraP...
We often get asked the question 'Is DuraPost just a panel product?'The answer is no! DuraPost is incredibly versatile...


