
A Bright Idea: Designing Your Garden Lighting Plan

Garden lighting can transform your outdoor space into a magical oasis, highlighting its beauty and creating a cozy atmosphere. To achieve the perfect garden lighting design, it's essential to plan carefully and consider the placement of lights, cables, and power sources. In this guide, we'll take you through the step-by-step process of designing your garden lighting, including selecting the right lights, arranging them effectively, and ensuring a seamless installation.
Need some help designing your space? Download our free Lighting Project Plan and then follow these steps:
Step 1: Create a Garden Lighting Diagram
Start by creating a diagram of your garden. Add key elements such as trees, shrubs, decks, pathways, and any other significant features. Don't forget to indicate the location of your power source, which will be crucial for connecting your lights.
Step 2: Choose the Right Lights
Consider the type of lights you want in your garden. Here are some popular options:
- Small Spotlights: Ideal for illuminating smaller plants or creating focal points.
- Large Spotlights: Perfect for highlighting majestic trees or architectural features.
- Bollard Lights: Great for illuminating driveways and pathways, enhancing safety.
- Deck Lights: Create a stunning ambiance along the edges of decks or stairs.
Select lights that match your garden's style and the intended purpose of the illumination.
Step 3: Plan Cable Layout
Measure the distance between each light and back to your power source. Write down these measurements on your garden diagram. You'll also need to consider the placement of T-Piece Connectors. Typically, you'll need one for every light except the last one in your sequence.
Step 4: Determine Cable Lengths
Measure the distance from your power supply to the first light and mark it on your plan. Ensure that the total length of all your cables does not exceed 50 meters. This is crucial to maintain the efficiency of your garden lighting system.
Step 5: Installation
Once you have your plan in place and you've received your lighting products, it's time to install them. Follow these steps:
- Connect the lights according to your diagram, using T-Piece Connectors where needed.
- Lay the cables according to your plan, burying them or concealing them discreetly where possible.
- Connect the cables to the power source, ensuring a secure and weatherproof connection.
- Test your lights to make sure they work as intended.
Step 6: Enjoy Your Garden Oasis
With your garden lighting successfully installed, all that's left to do is turn them on and bask in the beauty of your illuminated outdoor space. Whether you're hosting a gathering or simply enjoying a quiet evening, your garden will now be a captivating and inviting haven.
In conclusion, designing garden lighting is not just about aesthetics but also about enhancing safety and functionality. By carefully planning your layout, selecting the right lights, and following installation guidelines, you can create a garden that dazzles when the sun goes down. So, sit back, relax, and let your garden shine with ellumière products. It's that simple!
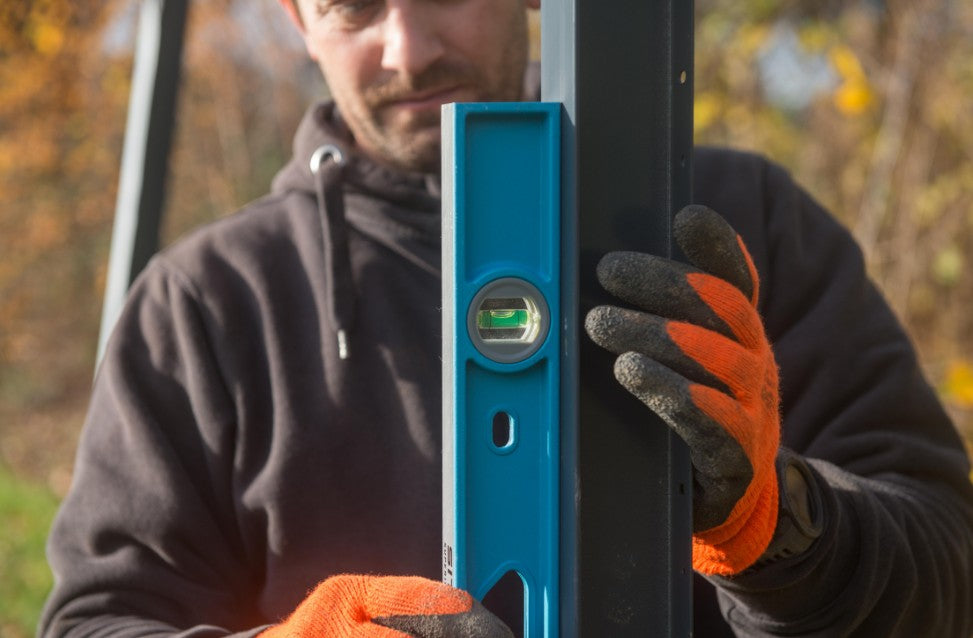
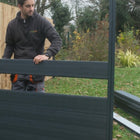
DuraPost® fencing systems
Create Extraordinary Spaces
DuraPost® steel fence posts and composite fence panels. Find out why they are the ultimate fencing system.